Hurricon 2008
Dan’s American Rifle Company
So after a sleepless night the day before along with traveling I got up at 5 am to drive over from Tampa to Orlando (my loving relatives informed me that it would be 2+ hours drive, and they were very wrong). I arrived early to the convention and tournament which gave me a hearty breakfast and time to finish basing some of my models.
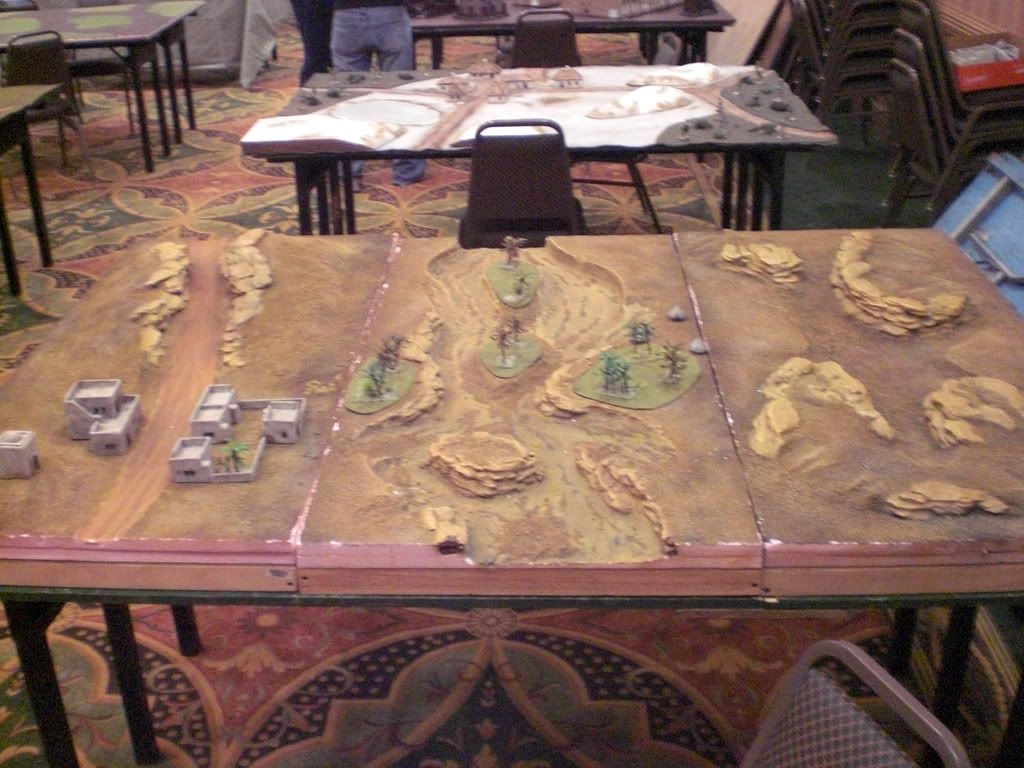
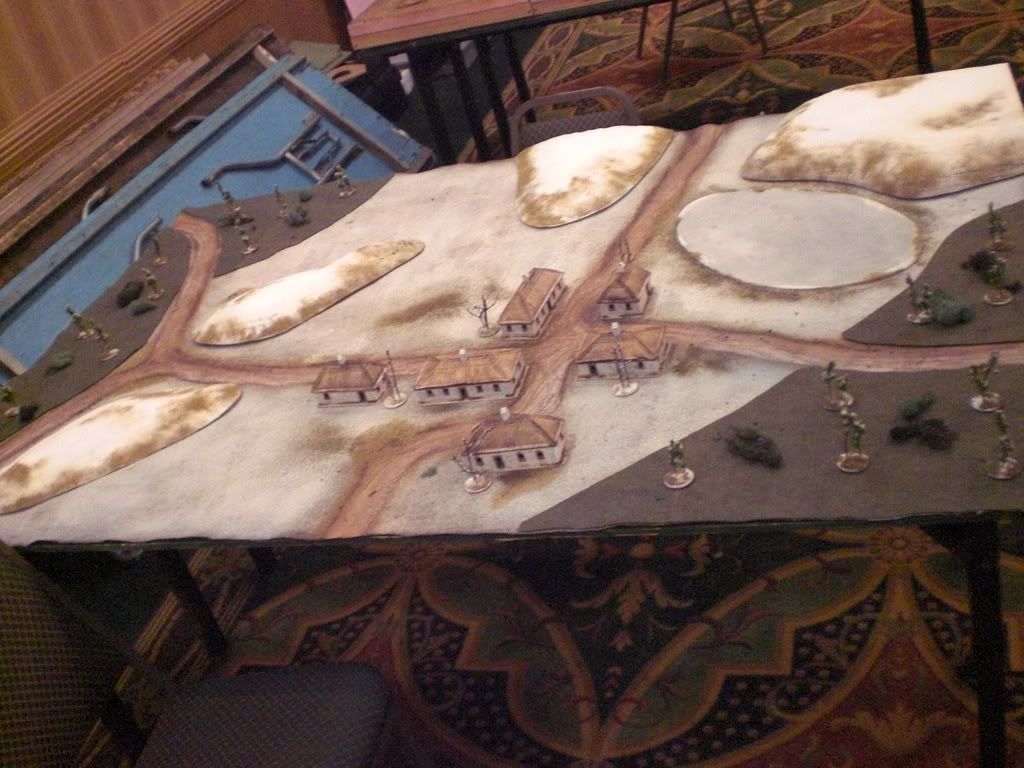
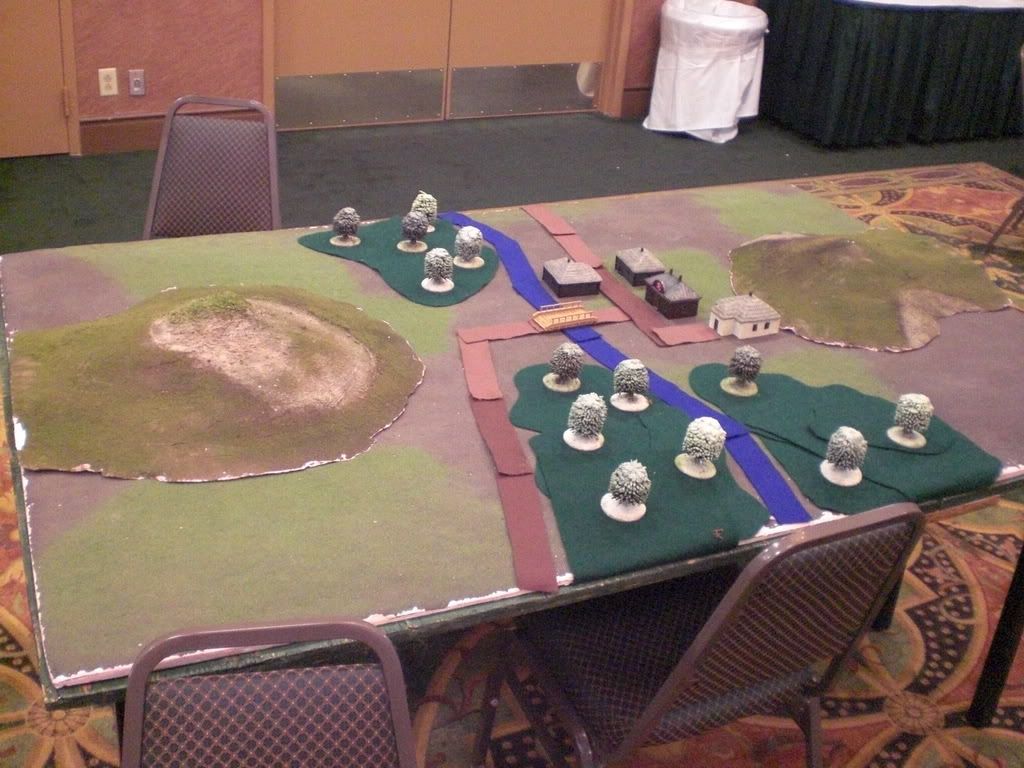
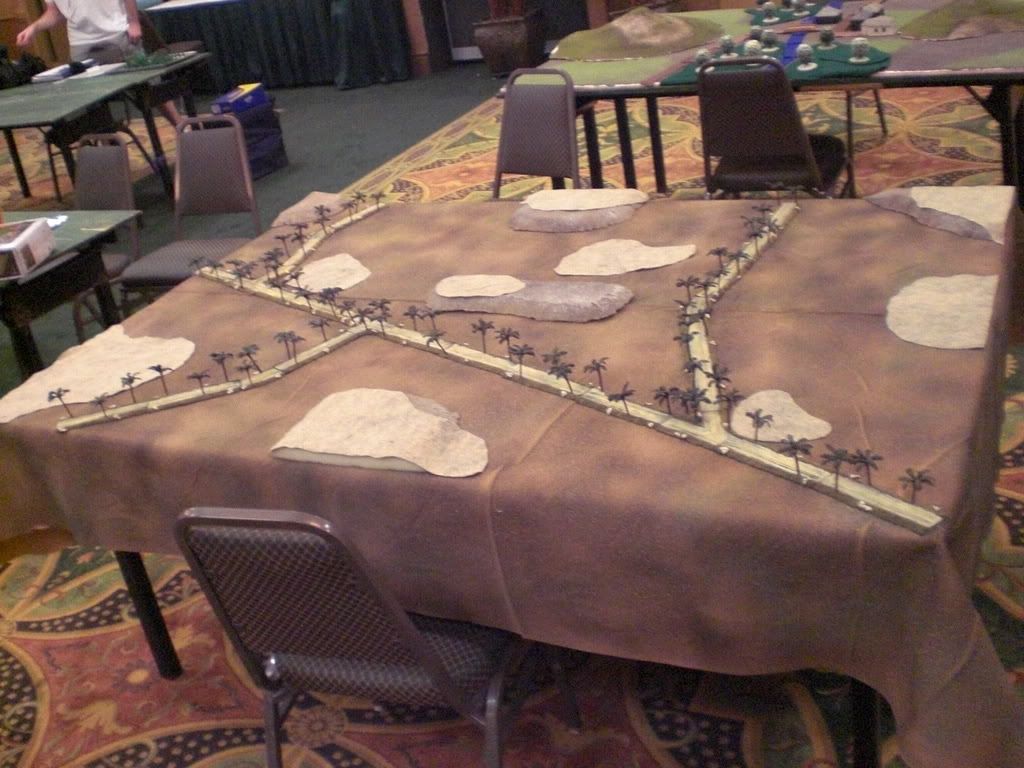
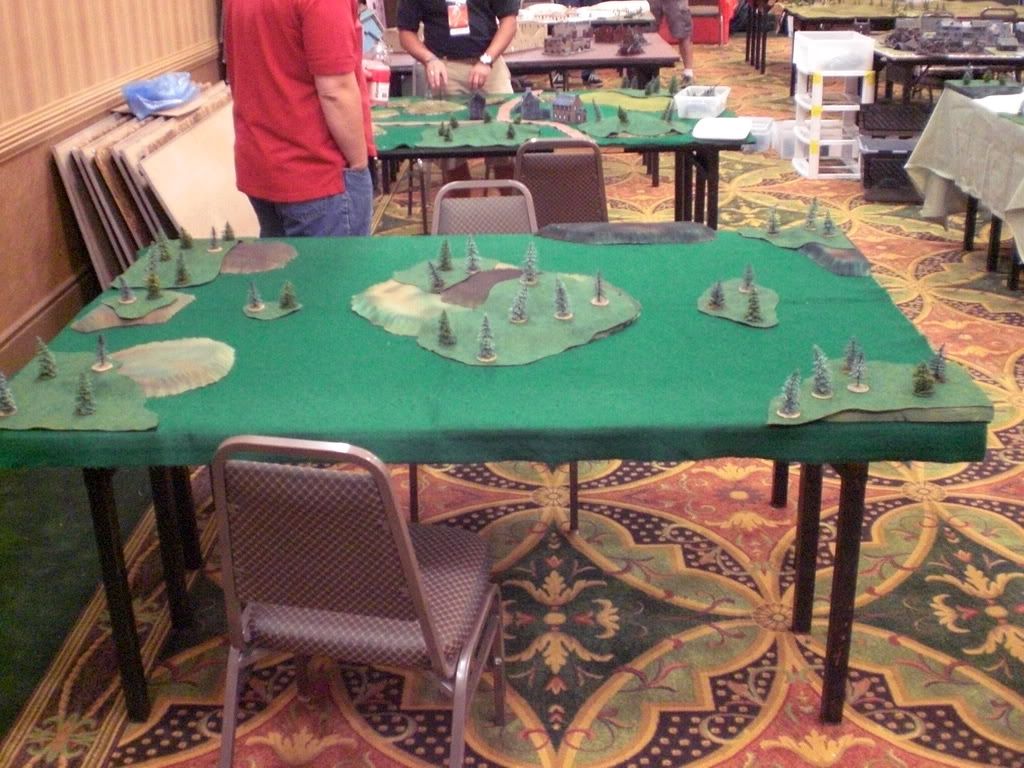
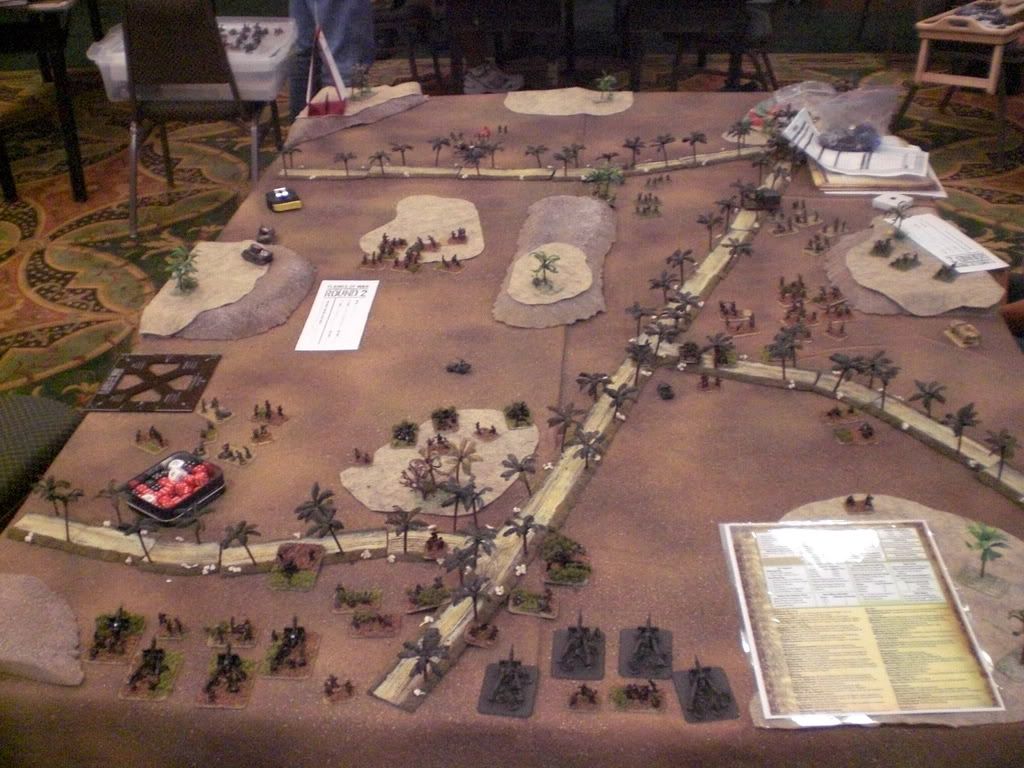
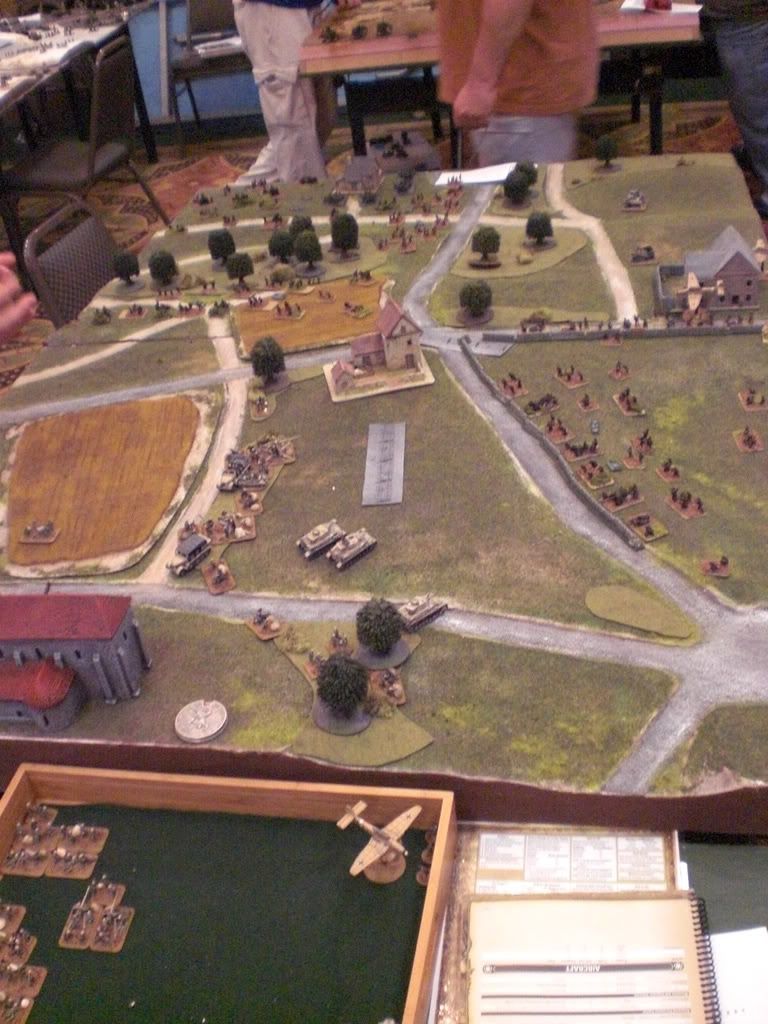
I also took advantage of this time to take pictures of the boards as they were finished. I managed to get all but one of them (unfortunately I didn’t get the village board, which was fantastic! Thanks to real-terrain for that one!), and here they are:
http://i195.photobucket.com/albums/z141/scurrdi/Hurricon%202008/Hurricon2008026.jpg
http://i195.photobucket.com/albums/z141/scurrdi/Hurricon%202008/Hurricon2008027.jpg
http://i195.photobucket.com/albums/z141/scurrdi/Hurricon%202008/Hurricon2008028.jpg
http://i195.photobucket.com/albums/z141/scurrdi/Hurricon%202008/Hurricon2008029.jpg
http://i195.photobucket.com/albums/z141/scurrdi/Hurricon%202008/Hurricon2008030.jpg
http://i195.photobucket.com/albums/z141/scurrdi/Hurricon%202008/Hurricon2008031.jpg
http://i195.photobucket.com/albums/z141/scurrdi/Hurricon%202008/Hurricon2008032.jpg
http://i195.photobucket.com/albums/z141/scurrdi/Hurricon%202008/Hurricon2008033.jpg
http://i195.photobucket.com/albums/z141/scurrdi/Hurricon%202008/Hurricon2008034.jpg
http://i195.photobucket.com/albums/z141/scurrdi/Hurricon%202008/Hurricon2008035.jpg
The turnout was great with twenty players ranging mostly from Tampa, Orlando, and Atlanta but also including some folks from South Carolina, Nashville, and Miami! Ed and company did a fantastic job of providing each table with its own terrain card which clarified what the different pieces of terrain were classified (in game terms) as. After our walkthrough we got assigned our first opponents and off to the races we went!
First off, my list:
United States 3rd Infantry Division, 30th Regiment, Company L
Rifle Company Headquarters 1x CinC Carbine, 1x 2inC Carbine
Options 2x Bazooka
Options None
Combat Platoons
Rifle Platoon 3x Rifle Squad (1x HQ Rifle, 9x Rifle)
Options 1x Bazooka
Options None
Rifle Platoon 3x Rifle Squad (1x HQ Rifle, 9x Rifle)
Options 1x Bazooka
Rifle Platoon 2x Rifle Squad (1x HQ Rifle, 6x Rifle)
Options 1x Bazooka
Weapons Platoons
Weapons Platoon 1x MG Section (1x HQ Carbine, 3x Lt Mortar, 2x LMG)
Mortar Platoon 2x Mortar Section (1x HQ Carbine, 4x 81mm Mortar)
Options 1x Jeep + 0.5" AAMG
Anti-tank Platoon 3x M3 37mm (1x HQ Carbine, 3x M3 37mm, 1x Jeep + 0.5" AAMG, 3x 3/4 ton truck)
Anti-tank Platoon 3x M3 37mm (1x HQ Carbine, 3x M3 37mm, 1x Jeep + 0.5" AAMG, 3x 3/4 ton truck)
Options 3x Upgrade to M1 57mm AT guns
Ammunition & Pioneer Platoon 3x A&P Squad (1x HQ Pioneer rifle, 6x Pioneer rifle)
Options 2x Bazooka
Options 1x Pioneer Supply truck
Support Platoons (maximum = 2 x # Rifle Platoons)
Tank Platoon 3x M4 or M4A1 Sherman
Field Artillery Battery 2x Section (1x HQ Carbine, 1x Staff, 1x OP, 2x 3/4 ton truck, 1x Jeep, 4x M2A1 105mm, 4x 2 1/2 ton truck)
Field Artillery Battery 2x Section (1x HQ Carbine, 1x Staff, 1x OP, 2x 3/4 ton truck, 1x Jeep, 4x M2A1 105mm, 4x 2 1/2 ton truck)
AA Artillery Platoon 1x Section (1x HQ Carbine, 1x Jeep, 2x M1 Bofor gun, 2x 2 1/2 ton truck)
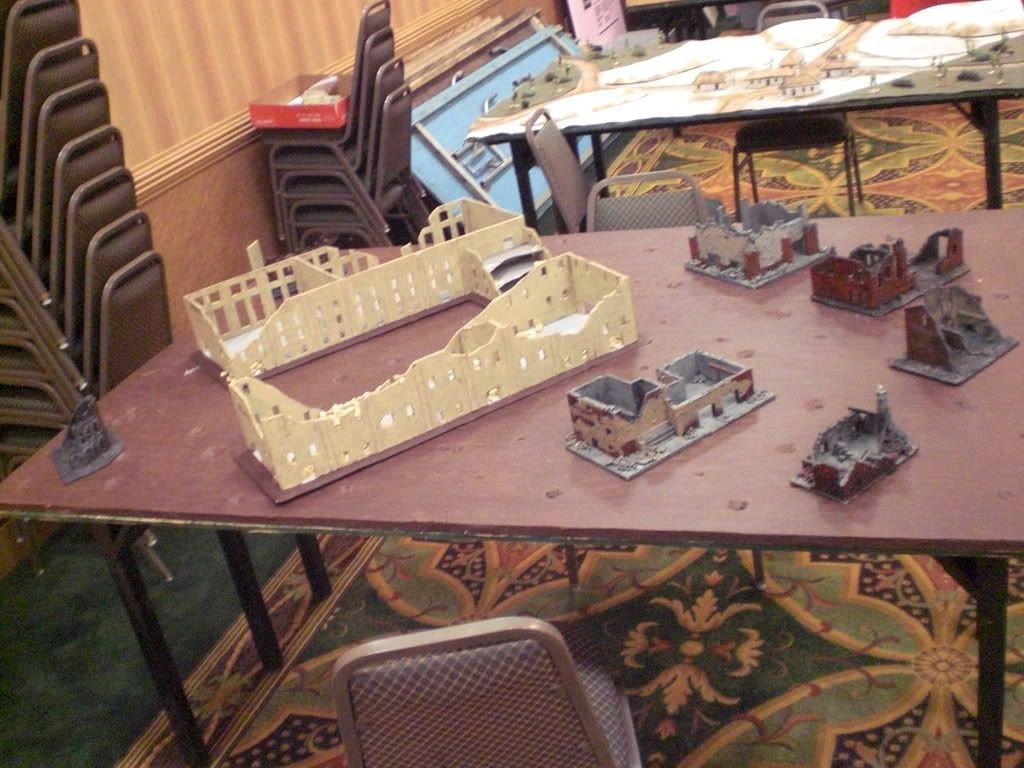
My first game found myself paired off against Ambrose whom I gathered was a veteran player (he knew a lot of people there and some people commented on not seeming him in several years). He had a German Panzergrenadier Company and we got the joyous pleasure of battling on the Stalingrad board (the one with the white buildings, third on the left column). We placed our o b j e c tives out and I decided to make it more of a challenge for myself by placing the o b j e c tive I was defending in a more accessible place in the middle of my deployment zone. I wanted to give myself a challenge (unfortunately) and thus went on to deployment.
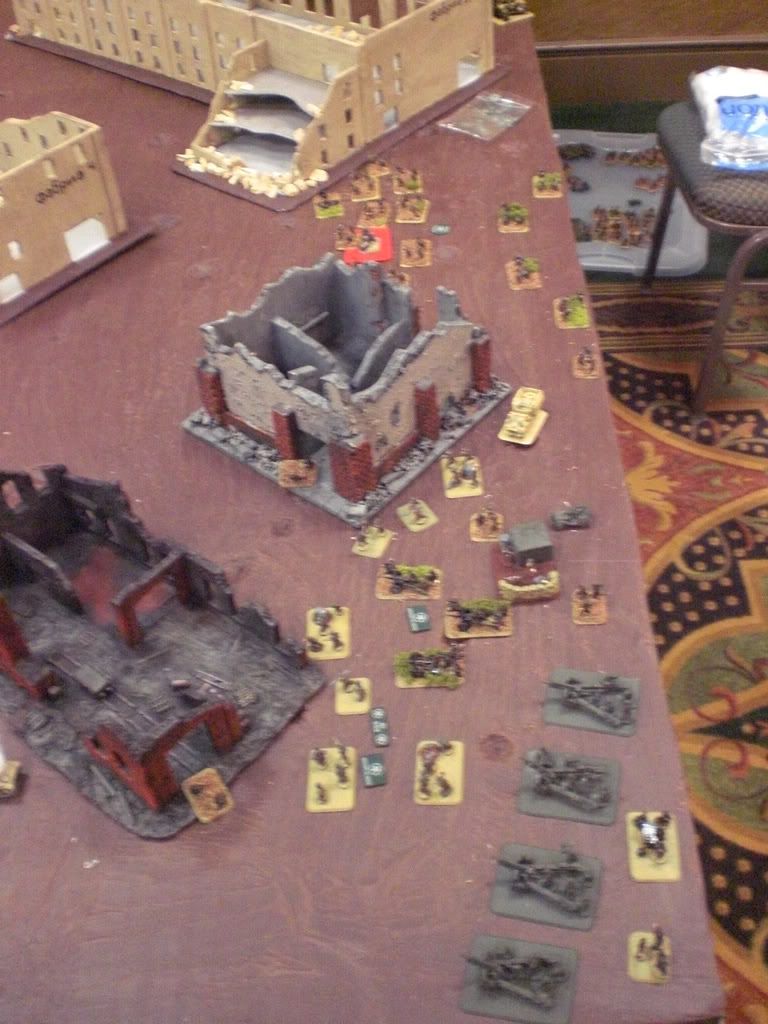
I had never played encounter before but I was not used to players advancing rapidly to seize the o b j e c tive early on. I had only played one other Panzergrenadier company before, and he didn’t take as much advantage of this halftrack option. I quickly learned otherwise as you’ll find out. I deployed my two FABs on either side of the board (the terrain kept me from deploying them both on one side) and my mortars in the middle. My 37mms were placed with my pioneers on the left o b j e c tive and one of my full rifle platoons were placed on the middle o b j e c tive. The 37mms had a long line which covered the only route to the middle o b j e c tive, so I imagined that I would have had the advantage of covering the lanes with the pioneers to protect that o b j e c tive. My riflemen would advance quickly to the middle o b j e c tive (inside one of the buildings which took advantage of the bocage rules) so I figured they would be free from fire until he noticed the threat. Ambrose placed his artillery on the left side of the board, his Panzer IIs on the leftmost side of the board, the 88s facing off against the 37mms (yikes!), and kamp group with the 88s.
Well, things didn’t really work out according to plan. I soon discovered that Panzer IIs are recon units, which thus brought them in on my lines very quickly. He won the roll to go first and advanced them further and didn’t do too much damage, except he managed to pin down my main platoon on the middle o b j e c tive with MG fire (minimal casualties). He stromtroopered his halftracks back (and out of range of the 37s) and tried to get the Panzers out of the way of the artillery).
http://i195.photobucket.com/albums/z141/scurrdi/Hurricon%202008/Hurricon2008036.jpg
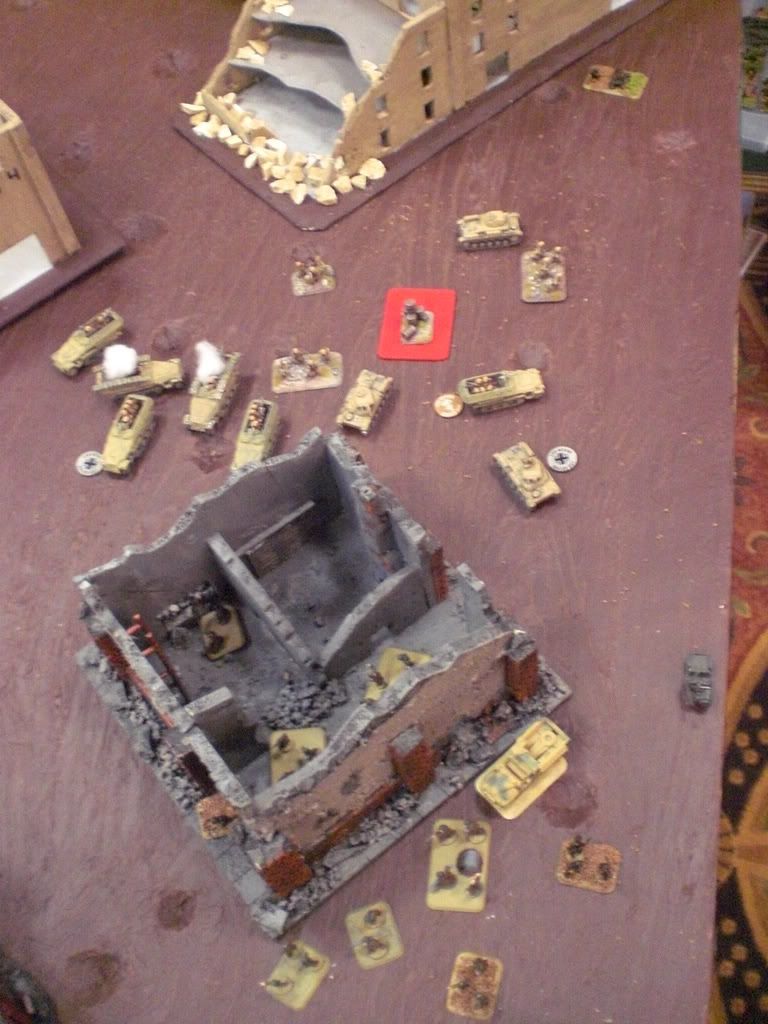
I then proceeded to make my second big mistake of the game. My wonderful motivation tests mean that I failed to unpin the infantry platoon and almost failed to unpin my pioneers (thanks to the CiC for that). With no targets I dug in the pioneers and 37s and just starred at my rifle platoon which couldn’t do anything. In the shooting phase I roll in the smoke and decide that I want to keep those 88s off of me. Of course my smart self places the smoke template on the wrong model (not remembering which direction I chose for the smoke and how large the smoke templates were) and I covered up all of those lovely halftracks (who were bunched up together, prime targets for lots of artillery bombardments). The photo to the left shows his side of the battle and my I’ll fated smoke bombardment.
This was the beginning of my downfall. With the halftracks untouched, both the halftracks and the panzer IIs made their way across the kill-zone and got to my poor pinned infantry platoon. The resulting MG fire was deadly, and after some assaults it was clear that they weren’t going to hold out for more then another turn (he also knocked out my mortars in one round). Unfortunately there was a wonderfully perfectly placed building right in the way of both my pioneer platoon and AT guns from moving into position to attack. I most likely should have moved the pioneers into the building in order to move into assault next turn, but the threats of multiple MGs was going to be brutal. At turn 3 my infantry platoon was down to simply the LMG stand on the table and I failed my reserves roll to bring in my shermans to save the day. The game was a brutal end of 6-1.
http://i195.photobucket.com/albums/z141/scurrdi/Hurricon%202008/Hurricon2008039.jpg
Lessons to be learned, and there were many from this one. I was caught up on the “Americans MUST use smoke to win” mentality and being a new player to this army (I’ve played Cossacks for over a year but switched over so I have a usable MW and LW army) I thought that I needed to use them. However, in this case I should have left the mortars off the table and brought the 57mms to cover the other o b j e c tive. This way I would have crossfire and would have held off all of those tanks and halftracks. Another lesson I learned was to be patient with my infantry. While were a bit slowly against an army as fast as Ambrose’s I needed to focus on defending the initial threat and let my reserves carry the push of the offensive. With the bocage rules for the big white buildings (factories) in place for the walls, a lot of his big arillery and guns wouldn’t be able to get sights in on me, and he’d have to redivert his forces to defend the o b j e c tive.
Overall, I learned to only use smoke when necessary, not all the time, and to put both of my AT guns on the table to start with and make my force more defensive to start and then push forward once my greater numbers arrive. The combination of both Lesson learned and rude awakening into the greater tournament world, something which I sorely needed.
More pictures from Round 1:
http://i195.photobucket.com/albums/z141/scurrdi/Hurricon%202008/Hurricon2008037.jpg
http://i195.photobucket.com/albums/z141/scurrdi/Hurricon%202008/Hurricon2008040.jpg
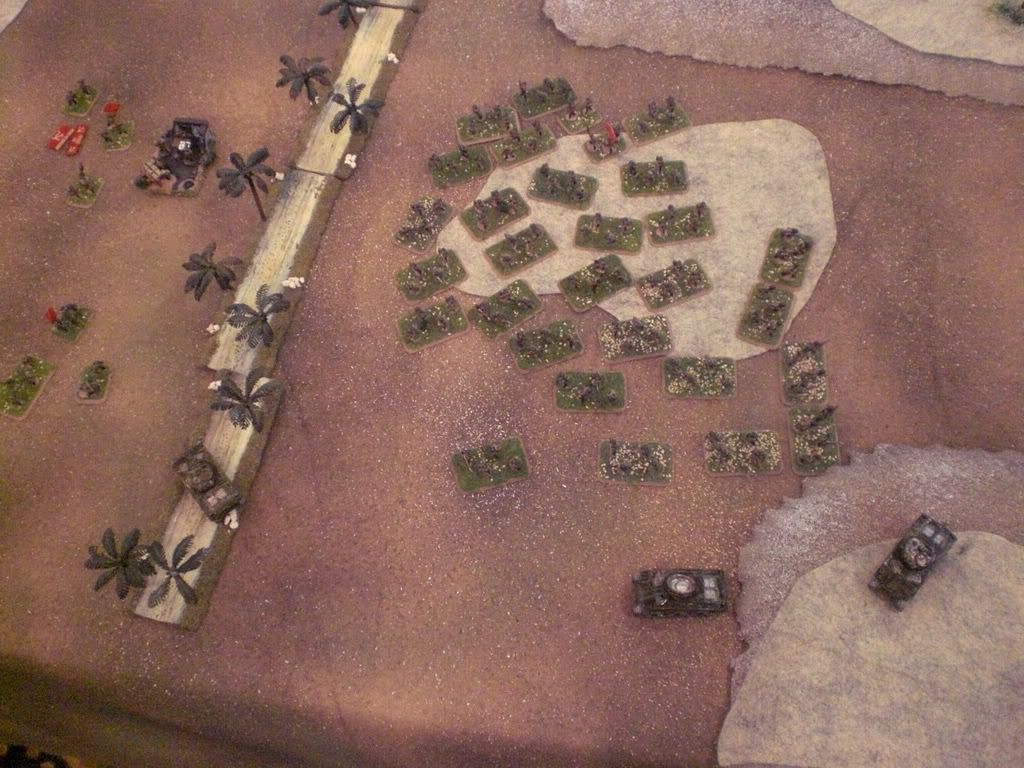
So after lunch and coming back mentally from the beat down and I proceed to round 2. I was paired off on the African board (fourth on the right column) versus Ginger ,who was playing a Russian infantry horde. It was nice to face off against someone who wasn’t veteran, but the possibilities of massive amounts of stands is something I wasn’t entirely used to seeing. The mission was Hold the Line and we diced off with me attacking and her defending. I didn’t mine this too much as it allowed to see what my full army looked like on the board for the first time. We placed our o b j e c tives out there on either end (mine being on the right side as close to the edge as possible with hers being more to the left and a fair bit farther back) and set up. She deployed the two smaller infantry platoons (with loving flamethrowers and sappers attached) and put her huge infantry platoon in ambush (yikes!). The other platoons (Flame-tanks, AT guns and mortar artillery) were in reserve. I deployed broadly across the board with my main focus being my o b j e c tive (1 large infantry platoon, pioneers, and 37s on the right side) but hoping that my Shermans and other two infantry platoons could push past to either threaten the flank or push to the other o b j e c tive if she commits too much of her forces to the o b j e c tive.
The deployment from my side and her stand off after I Truscott-trotted first round (go 3rd ID!):
http://i195.photobucket.com/albums/z141/scurrdi/Hurricon%202008/Hurricon2008003.jpg
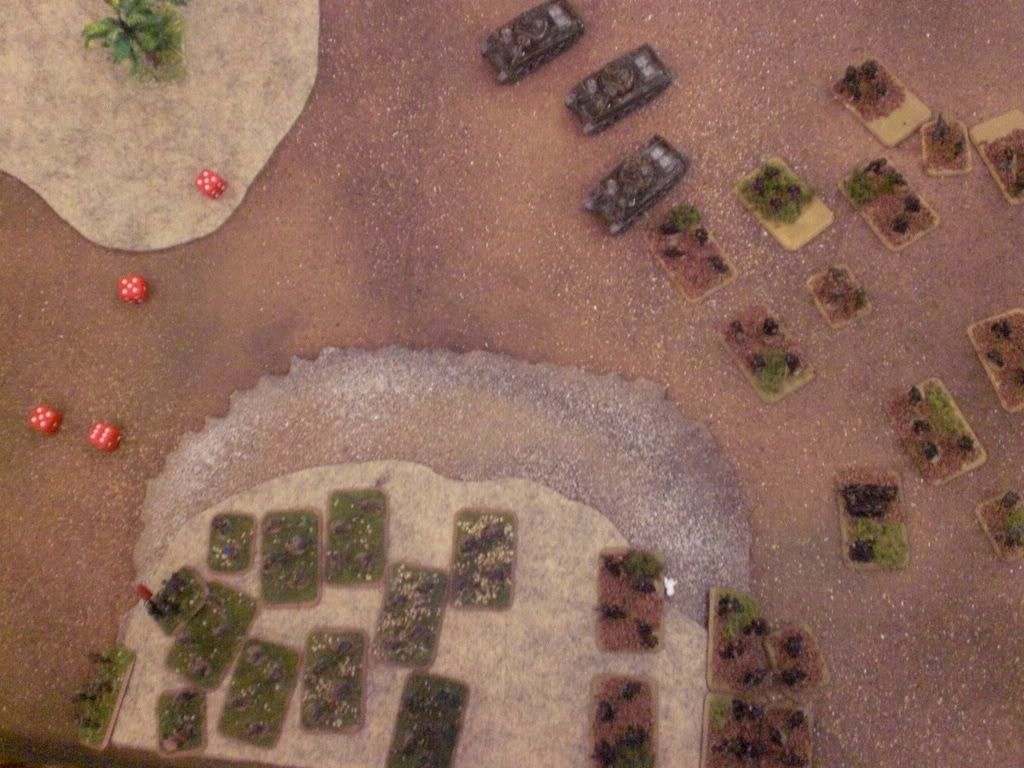
So the battle commenced with me pushing forward to a comfortable range and then bombarding the crap out of the ruskies till there was nothing left to fight back. My original plan was to hold out until the reserves arrived and more importantly, the ambush was sprung. The o b j e c tives were spread far enough apart that the giant infantry blob wouldn’t be able to defend both, so I needed to know which way she was planning to commit. My first few rounds of artillery were relatively ineffective (couldn’t hit anybody even with TOT) but my infantry and gun/tank support was advancing steadily. On turn 2 Ginger made a strange move and hopped out of her foxholes on the left flank and assaulted my smaller infantry platoon, whom was sneaking through the woods in front of them. Minimal damage was caused but she was out of those bulletproof cover. In the subsequent turn I assaulted her with both that same infantry platoon (who thankfully unpinned) and my shermans, knocking down the platoon to 3 stands left, though I lost my small infantry platoon in the process. In the next turn she revealed the giant platoon on the left side and destroyed a Sherman through flamethrower damage. I managed to fend off the following assault but I had a Sherman that was bogged down in the forest.
http://i195.photobucket.com/albums/z141/scurrdi/Hurricon%202008/Hurricon2008010.jpg
I took this as my time to strike and advanced both platoons on the right side to assault the remains of the weakened platoon (thanks to steady artillery fire that was now picking up with the casualties). My lone Sherman (the other one failed to unbog) ran off to try to take down the remaining 3 stands and my big infantry platoon moved back out of assault range of the big infantry mob. The Sherman manages to take out another infantry stand and she fails the important motivation roll and one platoon is off the table. This put my lone Sherman in clear sites for her Battalion leader and things were looking rather positive, until she assaulted the bogged Sherman, forcing a motivation test which I promptly failed.
http://i195.photobucket.com/albums/z141/scurrdi/Hurricon%202008/Hurricon2008008.jpg
The fourth turn is when everything went down at once. On the right I moved into to assault with the Pioneers first and then the big infantry platoon, hoping that with the multiple assault I would force the Russian platoon out and away to secure the o b j e c tive before any reinforcements could get there while on the left I went crazy and moved my large infantry platoon into position to assault the huge infantry blob. My tactics were actually to tie up this platoon and do as much damage as possible to it so its hopes of moving to help on the right o b j e c tive would be slim. With the big Russian platoon out in the open my artillery had a field day and I brought the giant platoon (on the left there) down to below half! They of course passed their morale check, but this was critical to my movement. I did a similar thing on the right flank, but they also passed. In assault is where the GIs proved their worth, sticking in it long enough and doing some serious damage to the Russians. With all said and done the big infantry platoon had fled the table with the other one forced back off of the o b j e c tive! She failed her Company Command Check, and thus was a hard fought but exciting 4-3 victory for me!
Lessons learned in this game. I got lucky in that none of Ginger’s reserves managed to come in through 4 turns! However, I think it was her dice giving her aircraft instead, cause they kept coming in regardless of the number of dice she was rolling. I thank myself for taking that 60 pt AA unit cause they saved me the entire game and protected my badly needed artillery. I think I played pretty soundly this game but maybe I could have been more aggressive and just assaulted early on, forcing her off the o b j e c tive and then having to come into my defensive fire to reclaim it. Either way, a solid game and I enjoyed it a lot!
The Sherman looks hungrily at the Battalion commander.
http://i195.photobucket.com/albums/z141/scurrdi/Hurricon%202008/Hurricon2008013.jpg
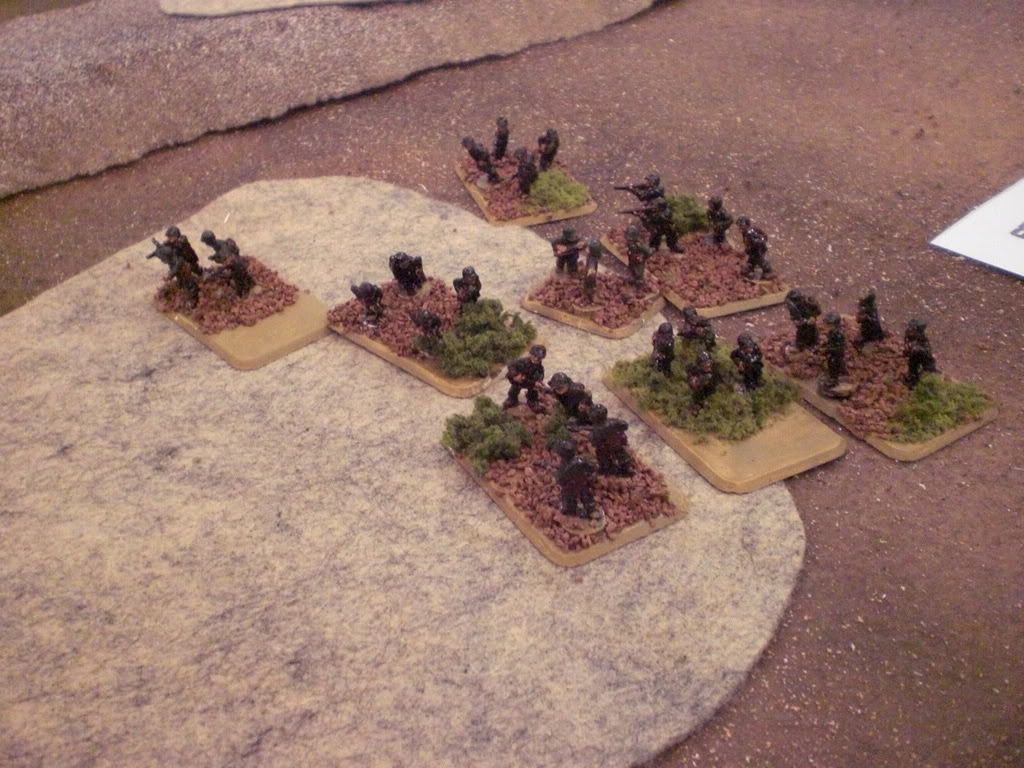
The victorious infantry platoon seeking cover after their exhausting assault on the large infantry platoon.
http://i195.photobucket.com/albums/z141/scurrdi/Hurricon%202008/Hurricon2008014.jpg
The battlefield at the end of the game.
http://i195.photobucket.com/albums/z141/scurrdi/Hurricon%202008/Hurricon2008012.jpg
So, two rounds down for me and I’m feeling a fair bit better about my playing ability with the Americans. Round 3 brings me up against Bryant and his motorized Panzergrenadiers. We played breakthrough on the Italy board (the top left column one) and I rolled low which meant I got to defend. I enjoy breakthrough because I get to deploy most of my force but also take advantage of those pioneers. I deployed a broad defense line, with my smaller infantry platoon and 37s on the bottom left flank (dug in against the wall) and a large platoon and 57s on my top right flank (dug in with some of the infantry in one of the wheat fields). Most of my artillery was safely tucked away behind a large crop of trees, but I made a decision this go around to try something new. I attached out the LMGs from my weapons platoon but this time I decided to keep the 3 60mm mortars as a separate platoon, giving me a fourth template. My other large infantry platoon and pioneers were situated on the edges closest to the o b j e c tives, planning to double-time it there to hold the o b j e c tives before the reserves come in. Bryant decided to deploy his 88s, 150cm artillery (2+ firepower yikes!), HMG platoon, and Panzer IIIs, all facing off in the direction of my smaller platoon and my 37s. He put his remaining platoons (2 infantry platoons and an AT gun platoon) in reserve. He also had aircraft but I knew my AA couldn’t cover the board so I voted to have them near the artillery. My shermans were in reserve.
The board (on turn 1):
http://i195.photobucket.com/albums/z141/scurrdi/Hurricon%202008/Hurricon2008018.jpg
His first turn goes without any real damage to my units (artillery failed to range in and in total I only lost 1 stand of pioneers) but he did of course pin all of platoons on the right side (of the map). I fail to unpin any of the three platoons so I vote instead to stay GTG rather then fire at a reduced rate. My infantry platoon Truscott Trots onto the o b j e c tives though I keep the pioneers where they are. Noticing that my upper (left) flank is clear of no enemies, I decide to Truscott Trot there as well into the next wheat field, creating a new threat from them for next turn. My main artillery doesn't do too much, but with the help of my extra mortars I force the 88s to take a test (destroying a couple of transports in the process) which they failed. This left the CiC by himself and put the HMGs by themselves with the Panzers out front.
Turn two he advances his Panzers around and gets into position to assault through the flank of the infantry. He also relocates his HMGs to consolidate them. He knocks out my observer and then assaults then infantry platoon, killing one stand. I promptly fail my motivation (4th time in a row now) and fall back, thus ending that. However I was out of foxholes and in trouble. I was hoping for my luck of the dice to change and it did when my Shermans arrived directly behind the Panzers. My two platoons on this flank rally but the pioneers of course fail to unpin and my large infantry platoon on the upper flank also fails to unpin (artillery shot at in the previous turn, were up to 6 failed this game so far, him with 2 failed so far). I decide it’s time to relocate my infantry platoon and them along with the pioneers move out towards the o b j e c tives. My tanks knock out one panzer and bail another, with my artillery knocking out the third. I also smoke the observer in the bell tower, partially to limit his sight but also to protect my shermans from any direct AT fire from the artillery. He fails this morale test on the tanks and they’re gone. 2 out of 4 platoons gone means a soon to come company morale test, and my infantry are looking hungrily at the CiC.
http://i195.photobucket.com/albums/z141/scurrdi/Hurricon%202008/Hurricon2008020.jpg
Turn three and it’s not looking too good for Bryant. Thankfully for me his reserves roll did not make it in and my AA shoots down his planes going after my artillery. I move into position with my tanks and infantry (finally unpinned though the pioneers still haven’t yet!) into assaulting position, with the tanks going after the HMGs and my infantry platoon bearing down on his CiC. The tanks deal with the HMGs no problem but my infantry falter horribly! I lose a stand going in and fail all 5 skill tests to hit him! He strikes back and I of course fail my motivation, failing back! Basic training is in order for those jokers.
He passes his company morale check but doesn’t get any reserves in (they would have only done damage since it would have been 3 platoons down to 5 total, unless he got both in). And runs his CiC towards the middle building. My tries his best to knock out my tanks with his artillery and airpower and almost forces a dreaded motivation test (kills one and bails another) but I luckily get away with the platoon intact. Bottom of turn 4 spells the end as the infantry platoon rallies to move back into assault position while my 37s open up full fire on his CiC and observer. I knock them both out and that was that, a 6-1 victory.
http://i195.photobucket.com/albums/z141/scurrdi/Hurricon%202008/Hurricon2008023.jpg
http://i195.photobucket.com/albums/z141/scurrdi/Hurricon%202008/Hurricon2008024.jpg
It was a good game and my strategy was sound and it’s real hard to attack in this scenario without a lot of armor available. We both had lots of failed motivation checks which ended up hurting him more then it hurt me, and I got my reserve platoon in at the right time, otherwise I would have been hurting on the counterattack with the infantry. I liked having the AT gun platoons mixed in with the infantry platoons and I loved having the extra mortars as they gave me a bonus template which worked well against non-dug in infantry and gun teams. I got the best unit history award and 8th place total, which was comforting considering my 6-1 loss in the first round. It also meant that if I had faired better in the first round I would have been much closer, but I’m still quite happy with my rankings.
Overall I had a great time at the tournament and thanks to Ed and his gang for the smooth and fantastic running of the tournament. I look forward to Recon and many other tournaments to come!
More photos! (link to all of them, enjoy!)
http://s195.photobucket.com/albums/z141/scurrdi/Hurricon%202008/?start=all
Tuesday, October 7, 2008
FOW Hurricon 2008 Battle Report
So here's my first post I will report. Normally I will make an effort to include the images into the post but I have already written this one so I'd like to just add it. Enjoy!
Subscribe to:
Post Comments (Atom)
No comments:
Post a Comment